Friday, November 23, 2018

React Native - WebView

React Native - WebView
Image result for React Native - WEBVIEW  ANIMATED]

In this chapter, we will learn how to use WebView. It is used when you want to render web page to your mobile app inline.

Using WebView

The HomeContainer will be a container component.

App.js

import React, { Component } from 'react'
import WebViewExample from './web_view_example.js'

const App = () => {
   return (
      <WebViewExample/>
   )
}
export default App;
Let us create a new file called WebViewExample.js inside the src/components/home folder.

web_view_example.js

import React, { Component } from 'react'
import { View, WebView, StyleSheet }

from 'react-native'
const WebViewExample = () => {
   return (
      <View style = {styles.container}>
         <WebView
         source = {{ uri:
         'https://www.google.com/?gws_rd=cr,ssl&ei=SICcV9_EFqqk6ASA3ZaABA#q=tutorialspoint' }}
         />
      </View>
   )
}
export default WebViewExample;

const styles = StyleSheet.create({
   container: {
      height: 350,
   }
})
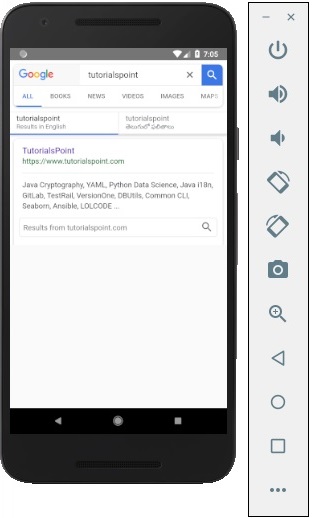
The above program will generate the following output.
React Native WebView

Continue reading

React Native - Modal

React Native - Modal
Image result for React Native - MODAL ANIMATED]

In this chapter, we will show you how to use the modal component in React Native.
Let us now create a new file: ModalExample.js
We will put logic inside ModalExample. We can update the initial state by running the toggleModal.
After updating the initial state by running the toggleModal, we will set the visible property to our modal. This prop will be updated when the state changes.
The onRequestClose is required for Android devices.

App.js

import React, { Component } from 'react'
import WebViewExample from './modal_example.js'

const Home = () => {
   return (
      <WebViewExample/>
   )
}
export default Home;

modal_example.js

import React, { Component } from 'react';
import { Modal, Text, TouchableHighlight, View, StyleSheet}

from 'react-native'
class ModalExample extends Component {
   state = {
      modalVisible: false,
   }
   toggleModal(visible) {
      this.setState({ modalVisible: visible });
   }
   render() {
      return (
         <View style = {styles.container}>
            <Modal animationType = {"slide"} transparent = {false}
               visible = {this.state.modalVisible}
               onRequestClose = {() => { console.log("Modal has been closed.") } }>
               
               <View style = {styles.modal}>
                  <Text style = {styles.text}>Modal is open!</Text>
                  
                  <TouchableHighlight onPress = {() => {
                     this.toggleModal(!this.state.modalVisible)}}>
                     
                     <Text style = {styles.text}>Close Modal</Text>
                  </TouchableHighlight>
               </View>
            </Modal>
            
            <TouchableHighlight onPress = {() => {this.toggleModal(true)}}>
               <Text style = {styles.text}>Open Modal</Text>
            </TouchableHighlight>
         </View>
      )
   }
}
export default ModalExample

const styles = StyleSheet.create ({
   container: {
      alignItems: 'center',
      backgroundColor: '#ede3f2',
      padding: 100
   },
   modal: {
      flex: 1,
      alignItems: 'center',
      backgroundColor: '#f7021a',
      padding: 100
   },
   text: {
      color: '#3f2949',
      marginTop: 10
   }
})
Our starting screen will look like this −
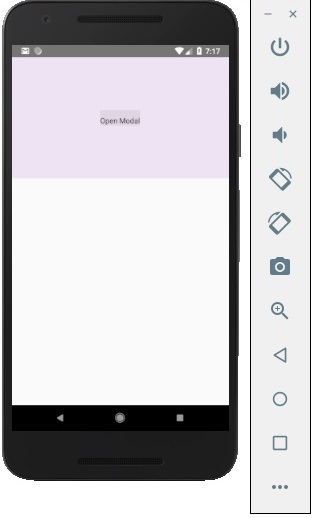
React Native Open Modal
If we click the button, the modal will open.
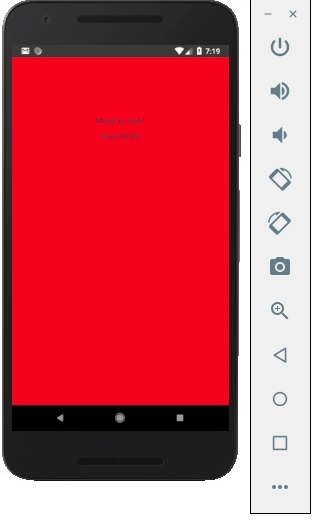
React Native Modal

Continue reading

React Native - ActivityIndicator

React Native - ActivityIndicator
Image result for React Native - ActivityIndicator ANIMATED]
In this course, we will be taking a look at how to make use f the activity indicator in react native.

Step 1: App

your App component will be used to import and show our ActivityIndicator.

App.js

import React from 'react'
import ActivityIndicatorExample from './activity_indicator_example.js'

const Home = () => {
   return (
      <ActivityIndicatorExample />
   )
}
export default Home

Step 2: ActivityIndicatorExample

Animating property is a Boolean which is used for showing the activity indicator. The latter closes six seconds after the component is mounted. This is done using the closeActivityIndicator() function.

activity_indicator_example.js

import React, { Component } from 'react';
import { ActivityIndicator, View, Text, TouchableOpacity, StyleSheet } from 'react-native';

class ActivityIndicatorExample extends Component {
   state = { animating: true }
   
   closeActivityIndicator = () => setTimeout(() => this.setState({
   animating: false }), 60000)
   
   componentDidMount = () => this.closeActivityIndicator()
   render() {
      const animating = this.state.animating
      return (
         <View style = {styles.container}>
            <ActivityIndicator
               animating = {animating}
               color = '#bc2b78'
               size = "large"
               style = {styles.activityIndicator}/>
         </View>
      )
   }
}
export default ActivityIndicatorExample

const styles = StyleSheet.create ({
   container: {
      flex: 1,
      justifyContent: 'center',
      alignItems: 'center',
      marginTop: 70
   },
   activityIndicator: {
      flex: 1,
      justifyContent: 'center',
      alignItems: 'center',
      height: 80
   }
})
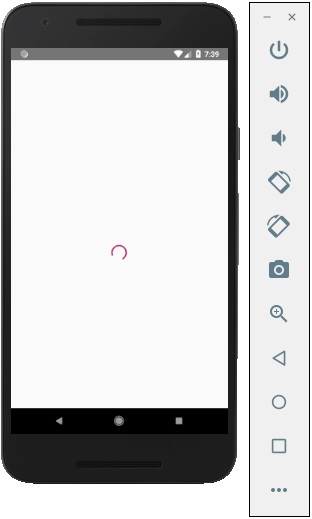
When we run the app, we will see the loader on screen. It will disappear after six seconds.
React Native Activity Indicator


Continue reading

REACT NATIVE PICKER

REACT NATIVE PICKER
Image result for REACT PICKER ANIMATED]

In this chapter, we will create simple Picker with two available options.

Step 1: Create File

Here, the App.js folder will be used as a presentational component.

App.js

import React from 'react'
import PickerExample from './PickerExample.js'

const App = () => {
   return (
      <PickerExample />
   )
}
export default App

Step 2: Logic

this.state.user is used for picker control.
The updateUser function will be triggered when a user is picked.

PickerExample.js

import React, { Component } from 'react';
import { View, Text, Picker, StyleSheet } from 'react-native'

class PickerExample extends Component {
   state = {user: ''}
   updateUser = (user) => {
      this.setState({ user: user })
   }
   render() {
      return (
         <View>
            <Picker selectedValue = {this.state.user} onValueChange = {this.updateUser}>
               <Picker.Item label = "Steve" value = "steve" />
               <Picker.Item label = "Ellen" value = "ellen" />
               <Picker.Item label = "Maria" value = "maria" />
            </Picker>
            <Text style = {styles.text}>{this.state.user}</Text>
         </View>
      )
   }
}
export default PickerExample

const styles = StyleSheet.create({
   text: {
      fontSize: 30,
      alignSelf: 'center',
      color: 'red'
   }
})

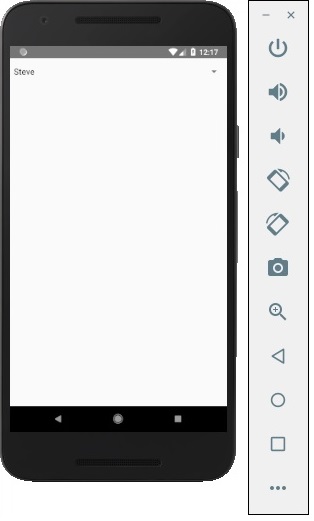
Output

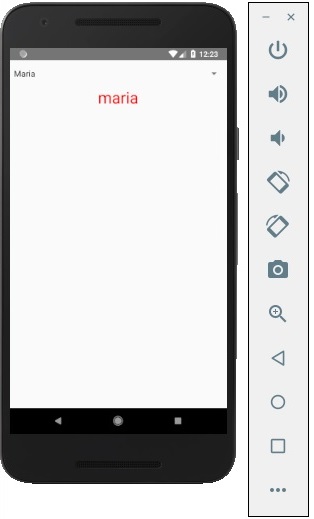
React Native Picker
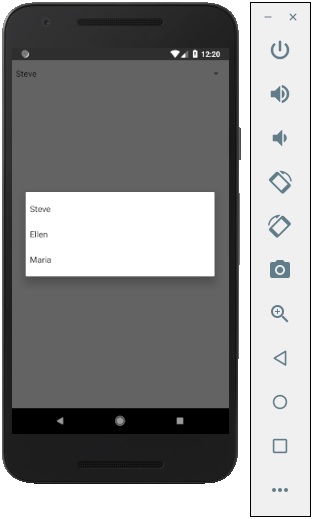
If you click on the name it prompts you all three options as −
React Native Picker
And you can pick one of them and the output will be like.
React Native Picker

Continue reading